 Searching...
How to paint a fireplace
Learn how to paint a laminate fireplace with Joanne Condon
)
Want to know how to transform your fireplace? A fresh coat of paint will do the trick! In the following blog post, decorating expert Joanne Condon shows us how to paint a laminate fireplace.
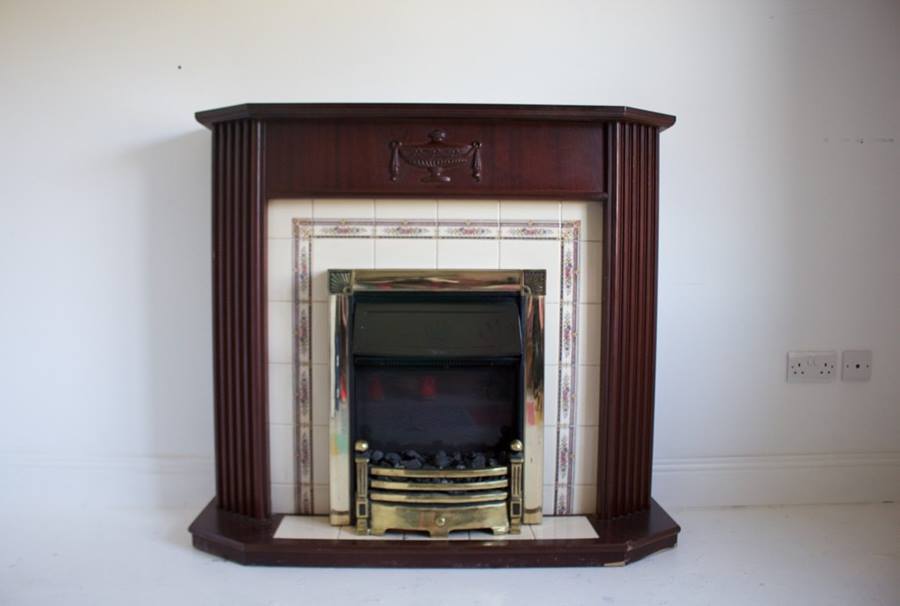
This is a Laminate Fireplace. When we are painting a fireplace we must only use water-based products like Crowns Fast Flow Quick Dry Primer and Undercoat and Crowns Quick Dry Satin. You must only use water based and not oil based paints.
In this project we wanted to update and modernise the fireplace by removing the moulding and changing the tiles. These are optional and there still would be a great difference if these elements remained unchanged.
The power of paint will do most of the work for you.
The colours that were used in this project are as follows:
Fireplace Colour: Crowns Fast Flow Quick Dry Satin in Y1720R
Wall Colour: Crown Matt Vinyl Emulsion Code: B3544A
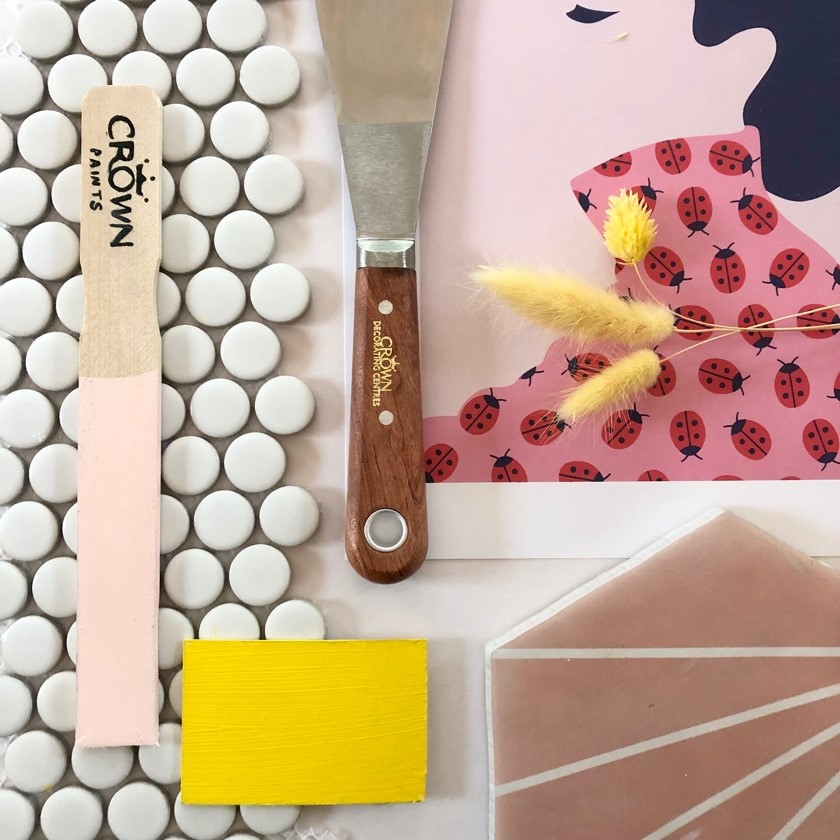
Materials Needed:
Please see here: https://bit.ly/3tD5fJQ
Cleaning
Spray sugar spray over the fireplace, be careful of the edges when spraying you don’t want to get back if the fireplace wet (on your wallpaper wall etc)
Protecting surrounding areas
With Painters tape, tape around areas you want protect like the heart and tiles etc, cover these with newspaper. Make sure to also protect the floors and be careful around painted wall or wallpaper.
Removing Moulding
The moulding on this fireplace wasn’t made from wood it was made with a plaster/resin. It was glued and nailed on. So to gently remove the moulding without creating too much damage to the fireplace. Gently pry back the moulding with a chisel.
Once removed, use a flat nose plyers to remove the nails that are left behind. It’s really important to remove these correctly.
Filling
With a ready mixed filler push the filler into the areas you want to fill and then come along with a filling knife to remove as much of the excess as you can so that it will be easier to sand once dry. I like to leave the filler dry overnight but you can also follow the drying times on the filler container.
Sanding
Sand all the awkward areas first with a sanding sponge or sand paper in 120 grit. Then sand the remaining flat surfaces with an sander but you can also do this by hand. Remove all the dust with a vacuum and then the last remaining dust with a tack cloth. Tack cloths have a little bit of beeswax in them to help gather up those small last bits of dust.
Priming
Prime all the awkward areas first with Crowns Fast Flow Quick Dry Undercoat and Primer. I prefer a sash brush, then with a microfiber roller, roll the remaining flat areas. Leave to fully dry.
Scratch Test
After the primer has dried make sure to do a scratch test in all areas.
Painting
Paint all the awkward areas first with Crown’s Fast Flow Quick Dry Satin and then a microfibre roller on the larger areas. Leave to fully dry
If you have imperfections you can use a 220 grit sandpaper to sand them back before you apply a second coat. Make sure you remove any dust from the sanding before painting your next coat.
Paint your final coat in the same way as above.
You can view the video on the process here:https://youtu.be/MDAg_36v7Ss.
Many thanks to Joanne Condon for her expertise!